Visualizzazione post con etichetta electronic. Mostra tutti i post

lunedì 5 ottobre 2015

How To Assemble A Gaming PC

Building your next computer instead of buying one pre-built is a very viable option these days and can bring many benefits;
 you can learn a lot about computer hardware by building one, you get a totally personalized computer, you can choose better components and you may be able to save some money and have fun. 

Overwive

For $800 you can expect to put together a system that can max out any game on 2560×1440 resolution. And, you can even expect a $800 gaming computer to serve as an entry-level 4K gaming computer.                                                                                                                                 

The $800 mark is the sweet spot for building your own computer, as $800 in components is enough to provide optimal in-game performance while still maintaining a reasonable budget.                                                                                                                                                     

The following are the parts I currently recommend for a $800 DIY gaming computer:
  
Part list

cpu:Intel Core i5-4690
fan:Cooler Master Hyper TX3 EVO
mobo:msi H97 PC Mate
gpu:MSI AK VGA GTX 960
ram:Kingstom HiperX Fury Kit DDR3  8GB
hdd:Segate 1 tb

 Ever wanted to build your own computer?
 This video will show you how.

martedì 23 giugno 2015

Arduino Tutorial How to control Arduino with Bluetooth

 Arduino Tutorial


In this tutorial I'll show you How to control Arduino with Bluetooth
using, My app developed with app inventor.

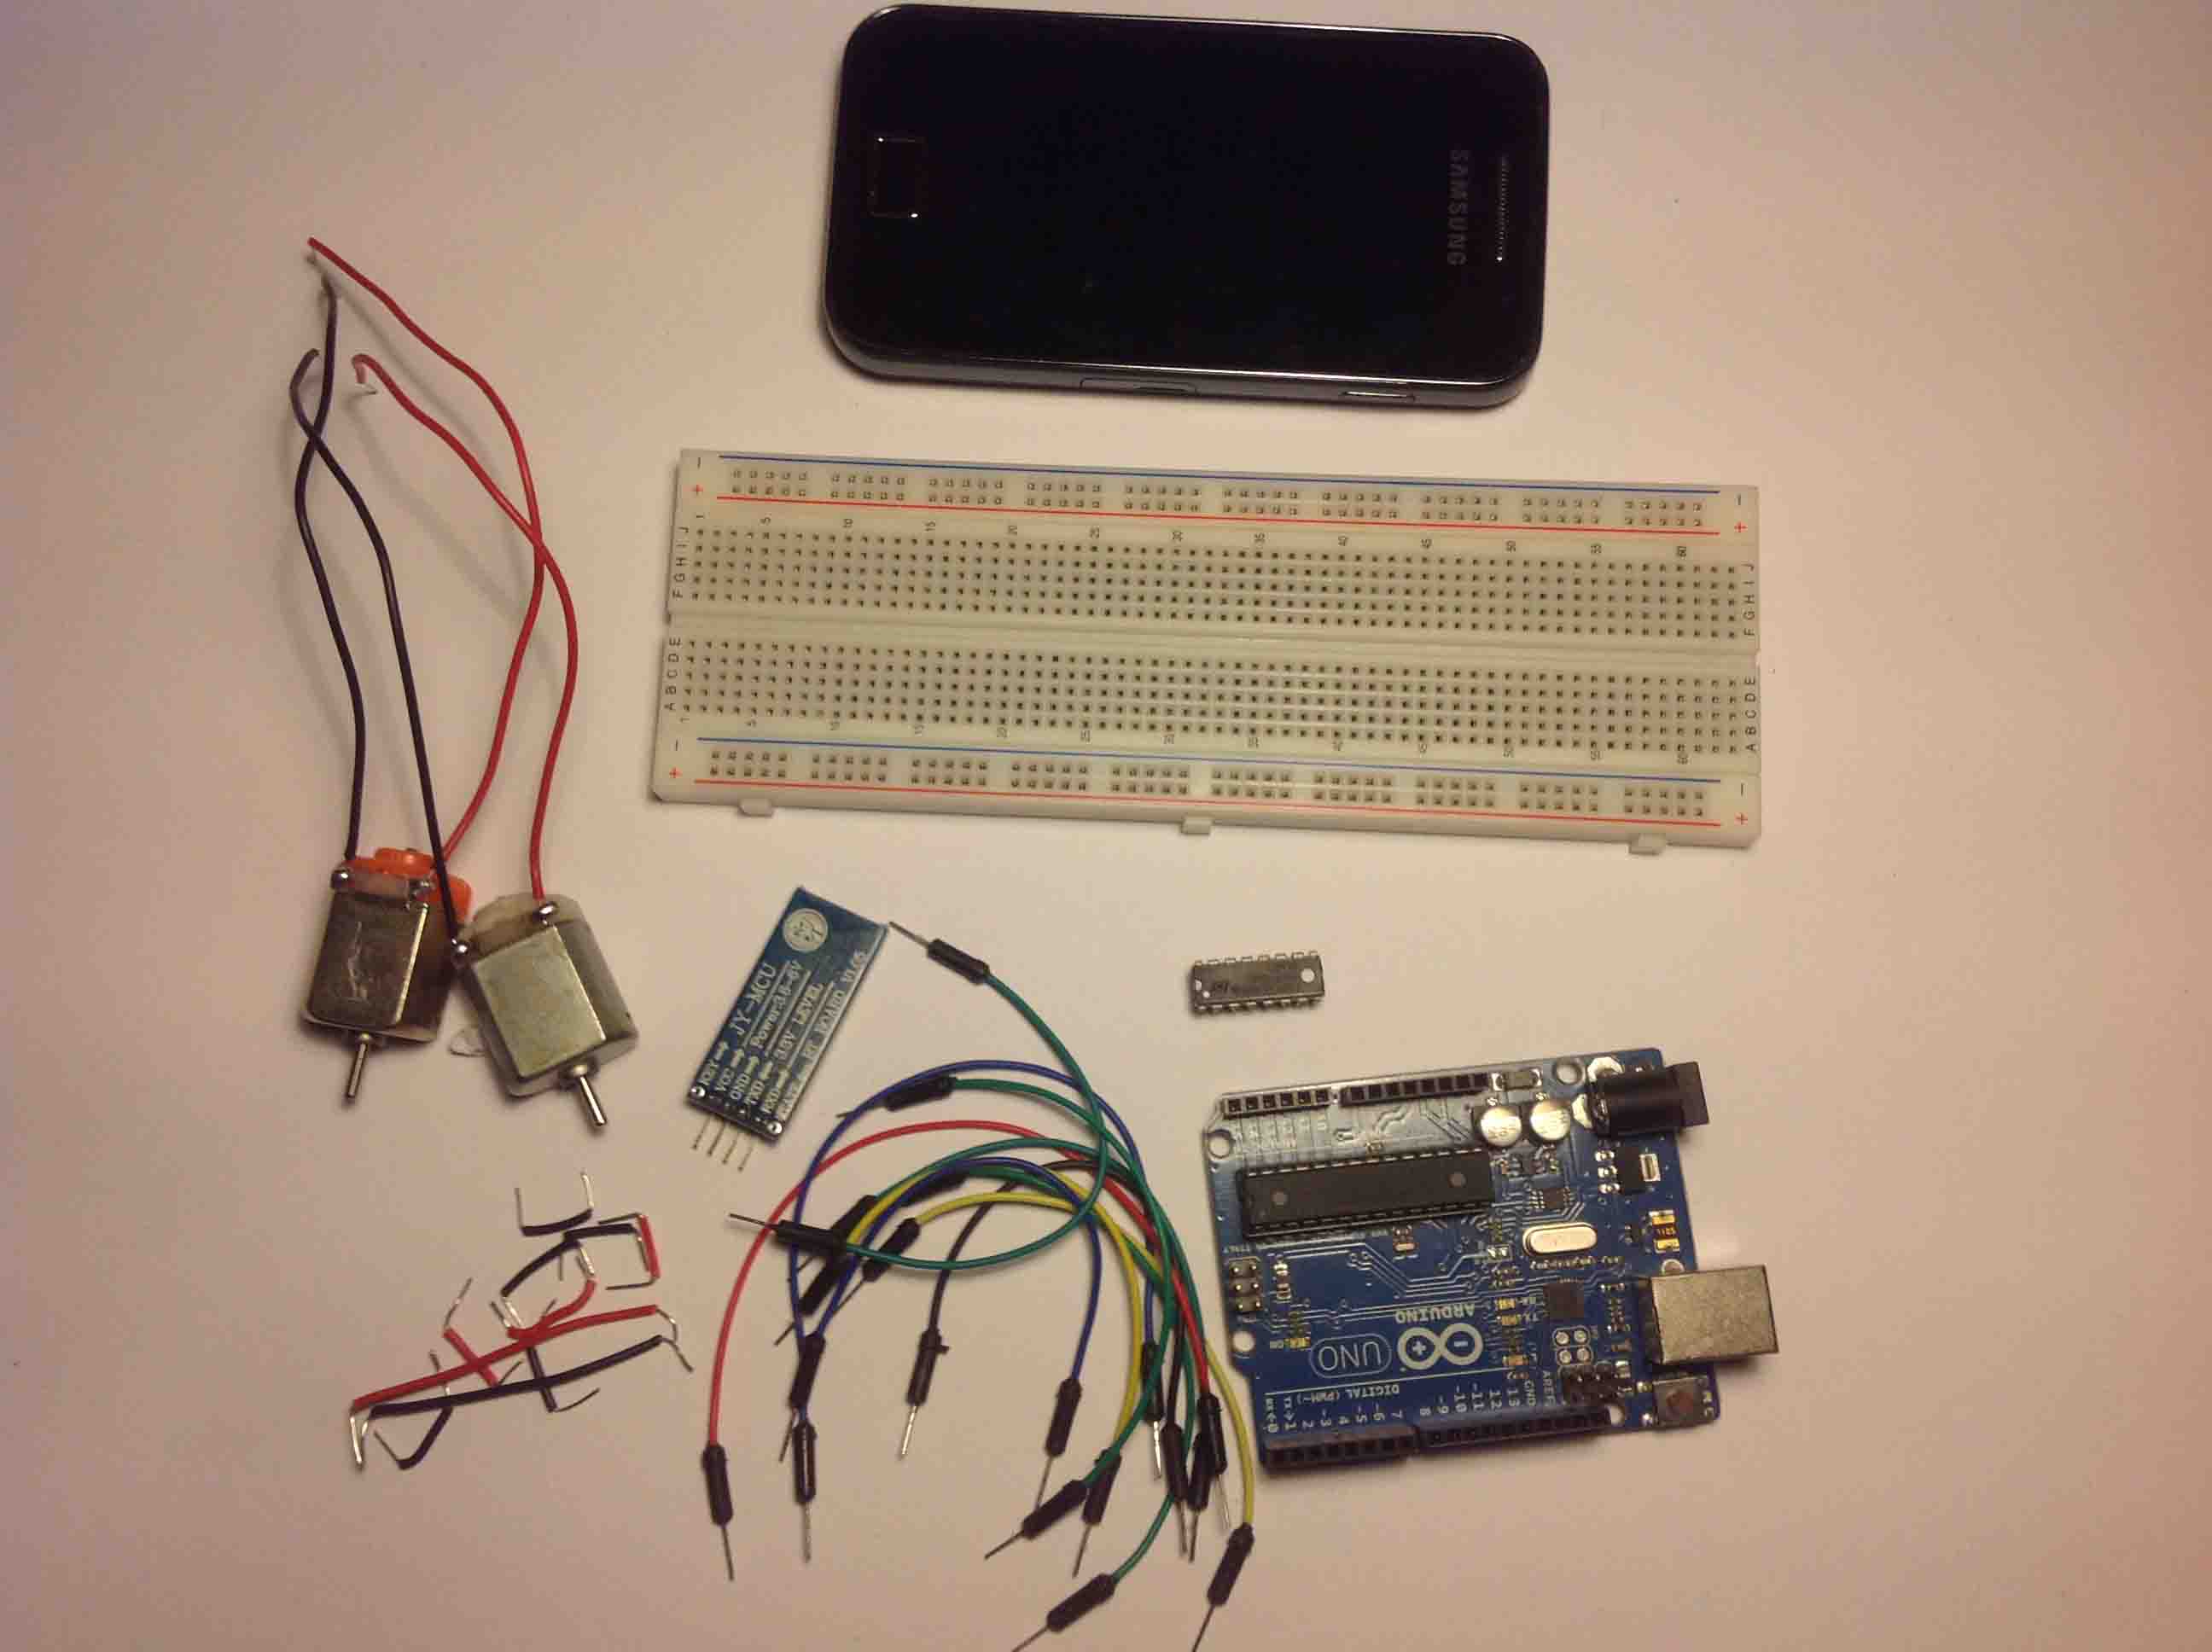
Parts Required

  • 1x Arduino
  • 1x Bluetooth Module ( HC-06)
  • 1x Smartphone (any Android will work)
  • 1x Led
  • 3x resistors
  • 1x Breadboard
  • Jumper Cables

Schematics 

Arduino Sketch

int ledblue=2;
int tx=1;
int rx=0;
char inSerial[15];
void setup(){
Serial.begin(9600);
pinMode(ledblue, OUTPUT);
pinMode(tx, OUTPUT);
pinMode(rx, INPUT);
allpinslow();
}
void loop(){
int i=0;
int m=0;
delay(500);
if (Serial.available() > 0) {
while (Serial.available() > 0) {
inSerial[i]=Serial.read();
i++;
}
inSerial[i]='\0';
Check_Protocol(inSerial);
}}
void allpinslow()
{
digitalWrite(ledblue, HIGH);
digitalWrite(ledblue, LOW);
}
void Check_Protocol(char inStr[]){
int i=0;
int m=0;
Serial.println(inStr);
if(!strcmp(inStr,"2off")){ //Led Off
allpinslow();
digitalWrite(ledblue, LOW);
Serial.println("Blue Off");
for(m=0;m<11;m++){
inStr[m]=0;}
i=0;}
if(!strcmp(inStr,"2on")){ //Led on
allpinslow();
digitalWrite(ledblue, HIGH);
Serial.println("Blue on");
for(m=0;m<11;m++){
inStr[m]=0;}
i=0;}
else{
for(m=0;m<11;m++){
inStr[m]=0;
}
i=0;
}}

Notes and Tips:

  •  You need to remove the RX and TX cables when you’re uploading the sketch to your Arduino.
  • If the HC-05 Bluetooth Module asks for a password, It’s’1234′.
  • Sometimes people connect the TX from the bluetooth module to the TX of the Arduino… that’s wrong and it won’t work. Make sure you connect it properly, the TX into RX and the RX into the TX.


martedì 14 ottobre 2014

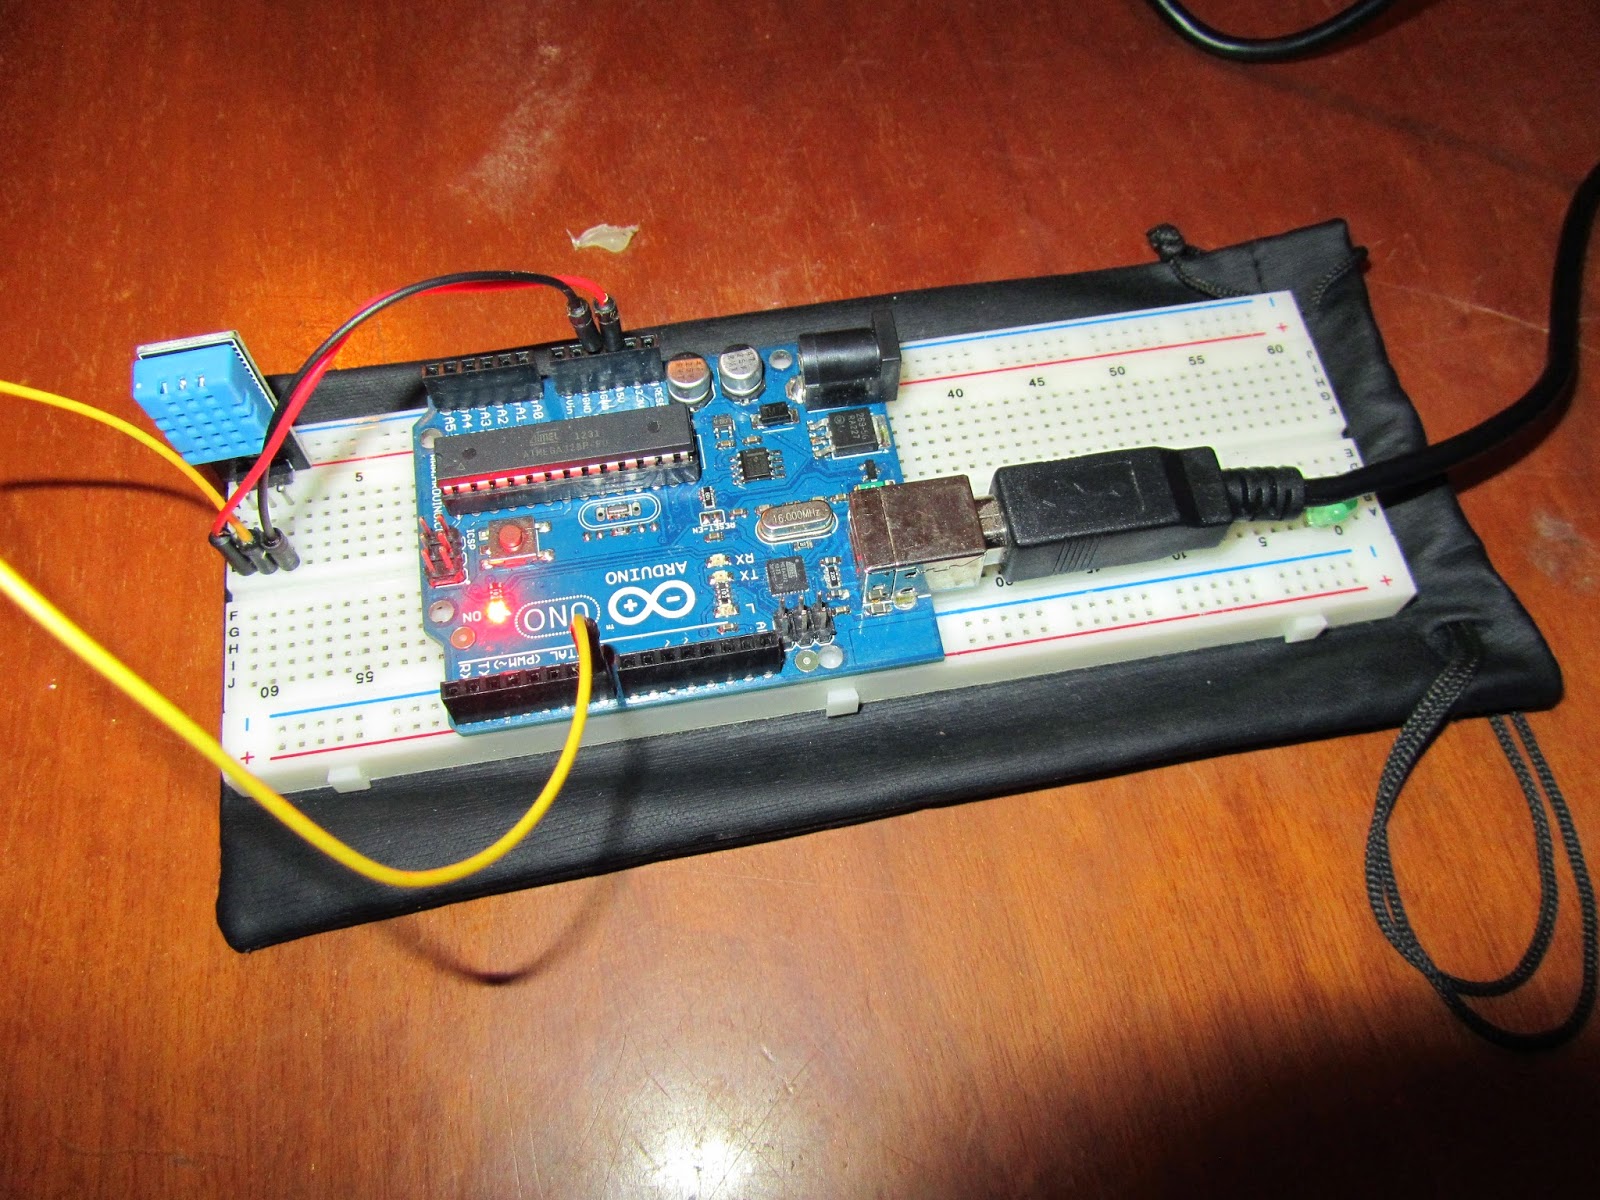
Dht11 Temperature and Humidity Sensor

The DHT11 is a basic,  low-cost digital temperature and humidity sensor.

 Its fairly simple to use, but requires careful timing to grab data. 


Technical Details


    Low Cost
    3 to 5V power and I/O
    2.5mA max current
    Good for 20-80% humidity readings with 5% accuracy
    Good for 0-50°C temperature readings ±2°C accuracy
    No more than 1 Hz sampling rate (once every second)
    Body size 15.5mm x 12mm x 5.5mm   


Test sketch

//

//   FILE:  dht11_test1.pde

// PURPOSE: DHT11 library test sketch for Arduino

//

#include <dht11.h>

dht11 DHT;

#define DHT11_PIN 7


void setup(){

  Serial.begin(9600);

  Serial.println("DHT TEST PROGRAM ");

  Serial.print("LIBRARY VERSION: ");

  Serial.println(DHT11LIB_VERSION);

  Serial.println();

  Serial.println("Type,\tstatus,\tHumidity (%),\tTemperature (C)");

}


void loop(){

  int chk;

  Serial.print("DHT11, \t");

  chk = DHT.read(DHT11_PIN);    // READ DATA

  switch (chk){

    case DHTLIB_OK: 

                Serial.print("OK,\t");

                break;

    case DHTLIB_ERROR_CHECKSUM:

                Serial.print("Checksum error,\t");

                break;

    case DHTLIB_ERROR_TIMEOUT:

                Serial.print("Time out error,\t");

                break;

    default:

                Serial.print("Unknown error,\t");

                break;

  }

 // DISPLAT DATA

  Serial.print(DHT.humidity,1);

  Serial.print(",\t");

  Serial.println(DHT.temperature,1);


  delay(1000);


}


    A tutorial on how to connect a DHT11  Sensor to your Arduino

Canale Telegram Leocity IOT

Ecco il link per il materiale delle lezioni : https://t.me/CorsoIOTDaVinci